Getting Started With NetDocuments
Knowledge Base Article
Getting Started With NetDocuments

Introduction
Welcome to NetDocuments, the industry-leading cloud-based document management system designed to streamline your document workflows, increase productivity, and enhance collaboration. As an end user of NetDocuments, you now have access to a powerful suite of tools that will help you to manage your documents more efficiently and effectively.
This getting started guide is designed to provide you with the essential information you need to begin using NetDocuments with confidence. Whether you are a new user who is just getting started or an experienced user who is looking to refresh your knowledge, this guide will help you to navigate the system and take full advantage of its features and capabilities.
In this guide, we will cover the basics of logging in and accessing NetDocuments, creating and managing your documents, searching for and locating files, and collaborating with your colleagues. We will also provide you with tips and best practices for using NetDocuments to its fullest potential, as well as troubleshooting tips for common issues you may encounter.
By the end of this guide, you will have a solid foundation for using NetDocuments to manage your documents and workflows, increasing your efficiency and productivity, and improve collaboration with your team. So, let's get started and discover how NetDocuments can help you to work smarter, not harder.
Step 1 - Login To NetDocuments
Open your preferred web browser
Type in the NetDocuments URL provided by your IT department or access using the following URL:
The login page appears as shown below:
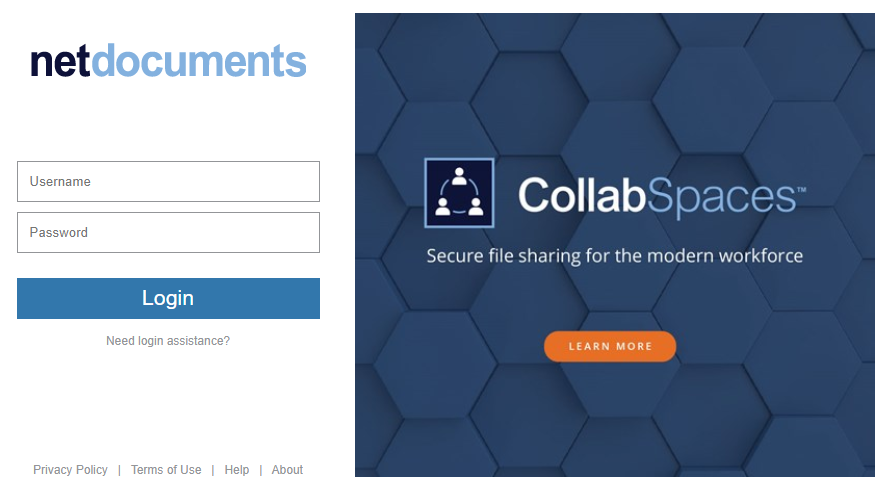
Enter your username and password, then select Login.
Step 2 - Accessing Your NetDocuments Home Page
The purpose of the NetDocuments Home page is to provide users with a central location to access all of their NetDocuments files and folders. The Home page serves as a dashboard that displays important information and tools for managing documents, allowing users to quickly and easily navigate to their most frequently accessed files, create new documents, search for existing documents, and manage their files and folders.
Once you have logged in, you will be taken to the NetDocuments Home page:

This is your gateway to all of your NetDocuments files and folders. From here you can create new documents, search for existing documents, and manage your files and folders
Step 3 - Understanding The Navigation Pane
The navigation pane in NetDocuments is an essential tool that allows users to easily locate and manage their documents and folders.
The pane is located on the left-hand side of the screen and contains a variety of options for organizing and accessing your files.
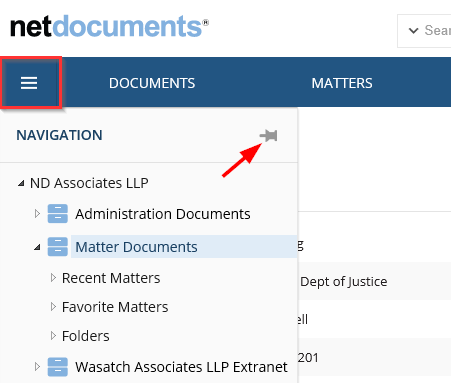
When you sign in for the first time, the Navigation Pane is hidden. Select the navigation.png icon to open the pane. You can pint and the pane will remain open on all pages.
You will see your lists of Recent and Favorite Workspaces.
Recent Workspaces (Recent Matters) – Expand Recent Workspaces to view the last 40 workspaces you accessed. Expand a workspace to view its Filters, Folders, and Saved Searches.
Favorite Workspaces (Favorite Matters) – Expand Favorite Workspaces to view the workspaces you have favorited. Expand a workspace to view its Filters, Folders, and Saved Searches. The Favorites list can display up to 350 workspaces at a time.
Step 4 -
NetDocuments will always display a blue ribbon called the Navigation Bar at the top of the page. Most actions can be accomplished from this menu. The links are always available on the main pages in NetDocuments.
Using the Search Ribbon
Add - To upload (import) existing documents into NetDocuments from a local device, OR create a new document from within NetDocuments. Add allows you to add documents to the specific folder, cabinet, or workspace you are currently in or displaying. You can also scan documents, add links, etc.
Quick Search - This can help you find the documents or folders you are looking for. To perform a Quick Search, type your search criteria directly into the search box above the Navigation Bar. For a search with more search criteria and options, you can click Advanced Search.
Documents - Clicking on Recent Documents will take you to your recently Edited, Opened, and Added documents. From there you can perform any action on any of the documents.
Matters - Clicking on Matters (workspaces) will show your Recent or Favorite Workspaces.
Home - The Home link is at the beginning of the bread crumb that can be found just below the Navigation Bar. Clicking on it will always return you to your Home Page. If you do not see this link, then you are on your Home Page.
Step 5 - Accessing A Matter Workspace
In NetDocuments, accessing a workspace is a simple process. A workspace is a shared space that is typically used to collaborate on a specific project or matter, and it can be accessed by all authorized users who have been granted access to the workspace.
To access a workspace in NetDocuments, first, you need to log in to your NetDocuments account. Once you have logged in, navigate to the navigation pane on the left-hand side of the screen. Locate the "Workspaces" section and click on it to expand the list of available workspaces.
Recent matters - If you have recently accessed the workspace, it will be displayed in the "Recent matters" section. You can simply click on the workspace to open it.
Favorite matters - If the workspace has already been added to your list of favorites, it will be displayed in the "Favorite matters" section. You can simply click on the workspace to open it.
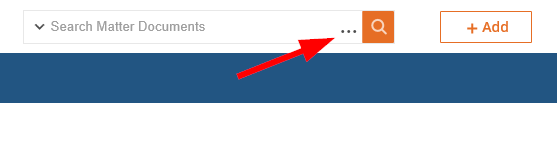
Not previously opened - If you have not accessed the matter on a recent or prior occasion, you can simply click on the cabinet ‘eg Client Documents’ and use the Search facility from the Navigation Bar:

Once you have located the matter workspace, click on it to open it. You will be taken to the matter workspace, where you can view and edit documents, collaborate with other users, and manage tasks and workflows related to the matter. If you have any issues accessing the matter workspace, make sure to check with your system administrator that you have been granted appropriate permissions and access rights.
Step 5 - Accessing Documents Via A Workspace
Once you have located the workspace, you will be taken to the workspace with the ‘Documents’ tab selected, providing access to all the documents and folders contained within the workspace.
The following are some key actions you can take from this screen:
Open Folder - To access folders within the workspace, simply click on the folder name. The folder will open, and you will be able to view and access all the documents contained within the folder.
Open Document - To access a specific document within the workspace, simply click on the document name. The document will open in a new window, allowing you to view and edit it as needed.
Upload Document(s) - If you need to upload a new document to the workspace, simply click on the "Upload" button located in the top right-hand corner of the screen. You can then select the file you wish to upload and choose the folder where you want to save it.
Step 6 - Using Microsoft 365 To Open Documents Stored In NetDocuments
ndOffice is a plugin for Microsoft Office that allows users to access and work with NetDocuments documents directly within the Microsoft Office suite.
Here's how to use ndOffice to access documents from NetDocuments in Word:
Open Microsoft Word and log in to your NetDocuments account. The ndOffice plugin should automatically load in the background.
To open a document from NetDocuments, click on the "Open" button within Microsoft Word. This will bring up a menu of options, including "ND Open"

Select "ND Open" and choose the document you wish to open from the NetDocuments document list. You can browse for the document using the search bar or by navigating through the workspace folders.
Once you have located the document, click on it to select it, and then click the "Open" button. The document will open in Microsoft Word.
You can now edit the document in Microsoft Word as you would with any other document. Any changes you make will automatically save back to NetDocuments.
When you are finished editing the document, simply click on the "Save" button within Microsoft Word to save the changes back to NetDocuments.
Further details about the options available within ndOpen are available via the following link:
Step 7 - Using ndCompare For Document Comparison
To compare documents in Word using ndOffice application:
In Word, select the Review tab, and then select Compare in the ndCompare group.
In the Compare Documents dialog box, select the original and revised documents to compare by selecting one of the following icons:
- Select the document from the NetDocuments repository. After selecting this icon, the ndOpen dialog box opens, where you can navigate to the specific location, and then select the document.
Note: To compare document versions, in ndOpen, select the Open versions pane icon and choose desired versions.
– Select the locally saved document. After selecting this icon, the Windows Open dialog box opens, where you can navigate to the specific location on the computer, and then select the document.
To switch the selected documents between the Original document and the Revised document fields, select the icon.

Further details about the options available within ndCompare are available via the following link:
https://support.netdocuments.com/s/article/360003090672
Step 8 - Saving Emails To NetDocuments
ndMail is an add-in for Microsoft Outlook that enables users to file emails into NetDocuments, a cloud-based document management system. By integrating with Outlook, ndMail streamlines the email filing process, making it easier and more efficient for users to manage their emails and documents.
With ndMail, users can organize their emails with ease, ensuring that important communications are stored securely and accessible when needed.
Users can file emails by following these steps:
Open the email you want to file in Microsoft Outlook.
Click on the "ndMail" button in the Outlook ribbon to display the panel as shown below:
Desktop Version
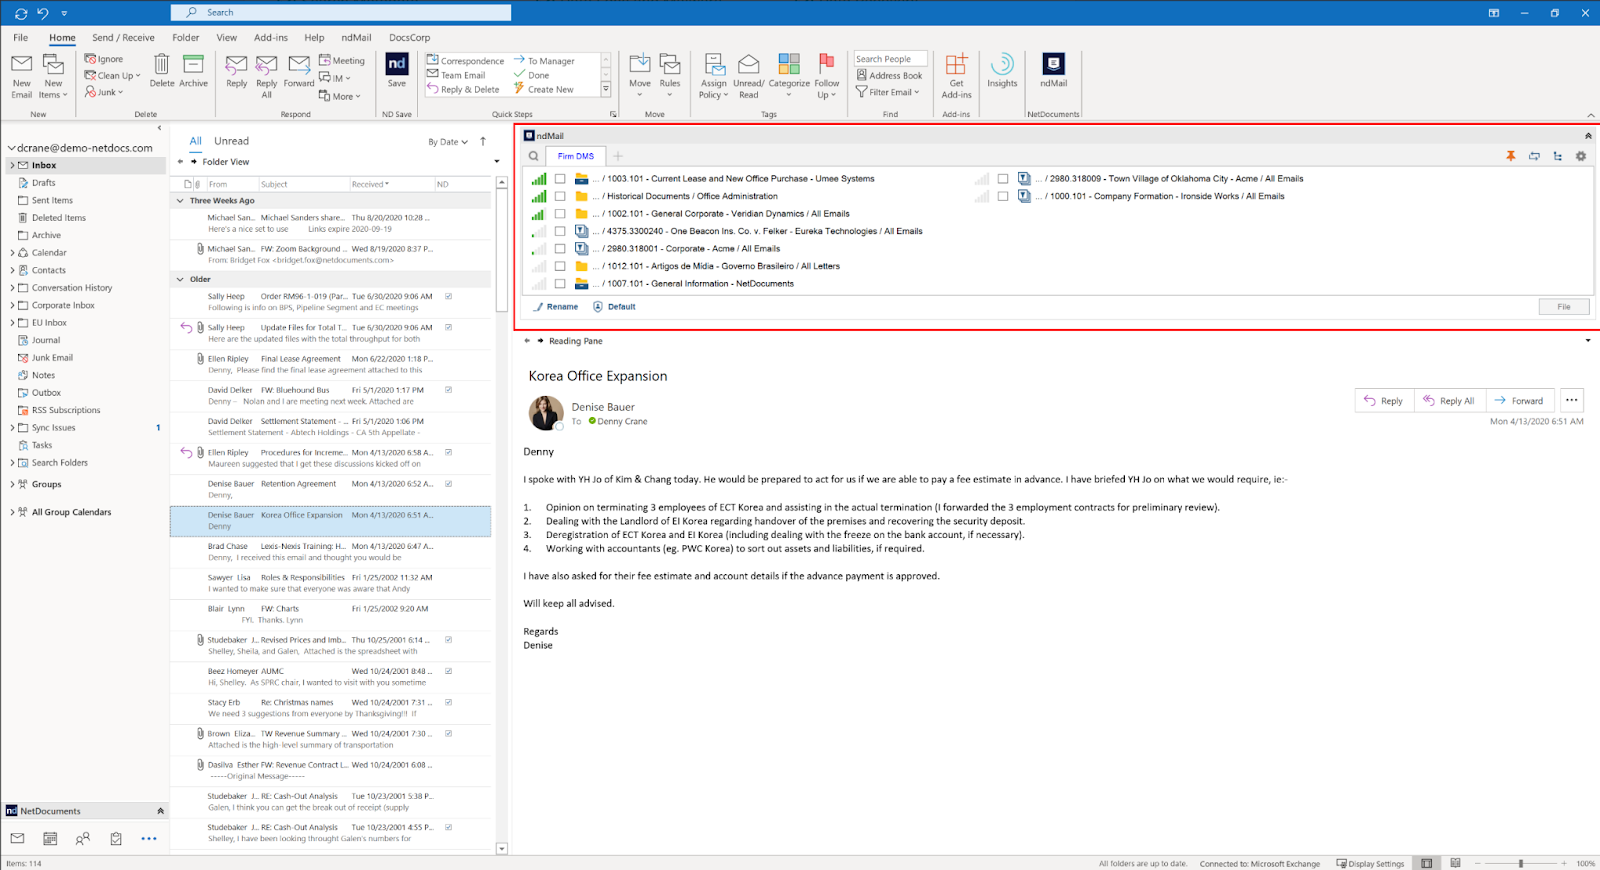
Microsoft 365 Version
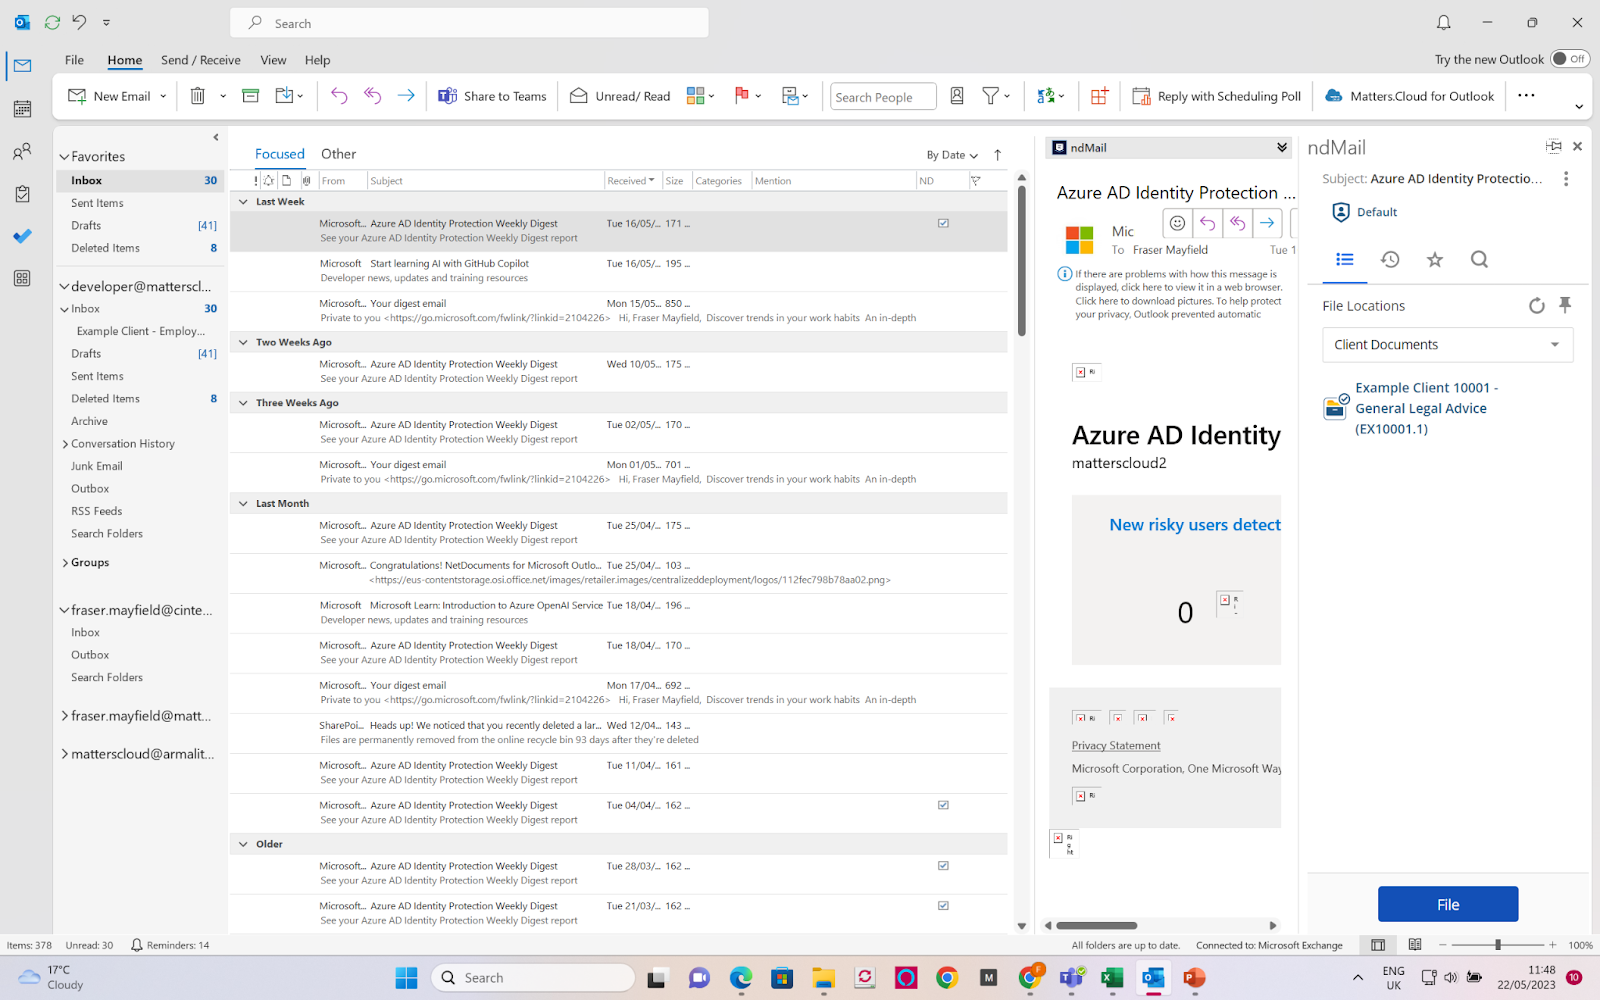
Choose the NetDocuments workspace and folder where you want to file the email. You can use the search function to find the appropriate folder, or create a new one by clicking on the "New Folder" button.
Click the "File" button to file the email into NetDocuments. The email will be saved in the selected NetDocuments workspace/folder.
It's worth noting that ndMail also provides intelligent filing suggestions based on the content of the email and your past filing behavior. If you have this feature enabled, you may see suggestions for where to file the email automatically, saving you time and effort.
Step 8 - Sending Attachments From NetDocuments
To send attachments from NetDocuments,, follow these steps:
Open the email in which you want to include the attachment.
Click on the "nd Attach" button or drag and drop the file from your desktop into the email message.
In the "Activity Center" dropdown that appears, either select a recent document or select the "Browse NetDocuments" option.
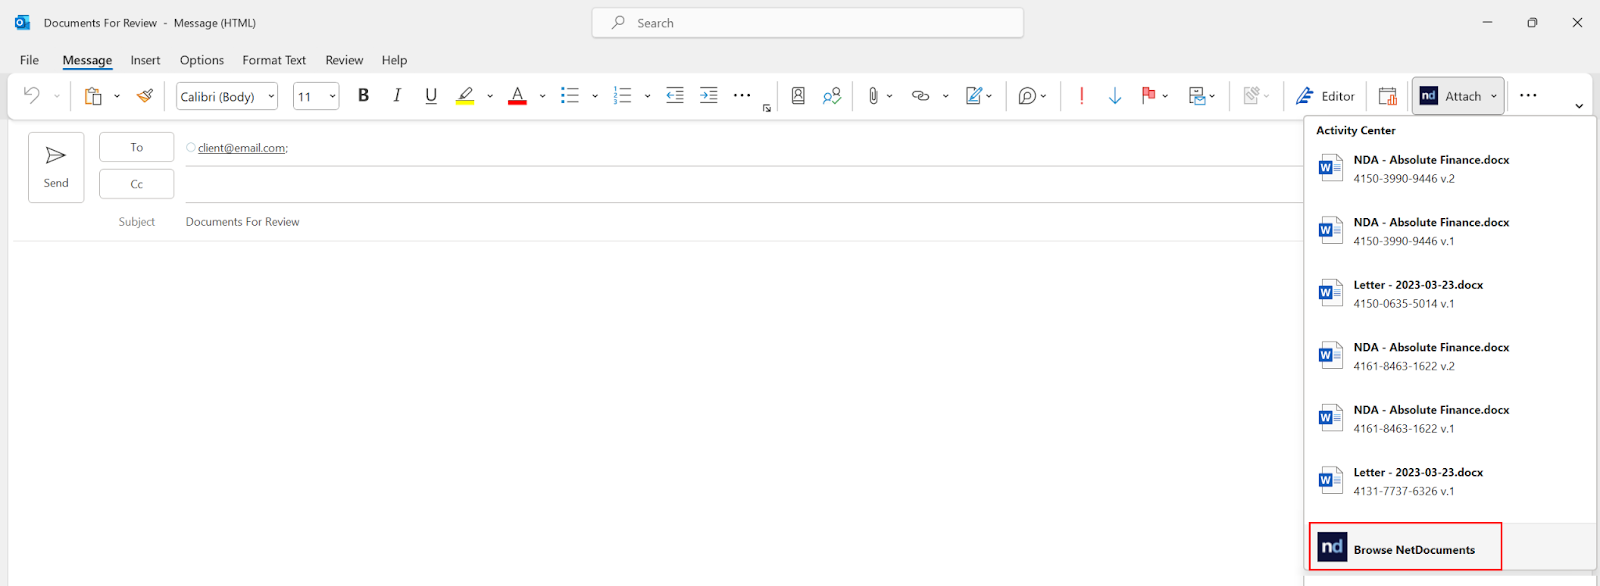
Browse to and select the file you want to attach from your NetDocuments repository. You can search for the file by name or browse by workspace and folder.
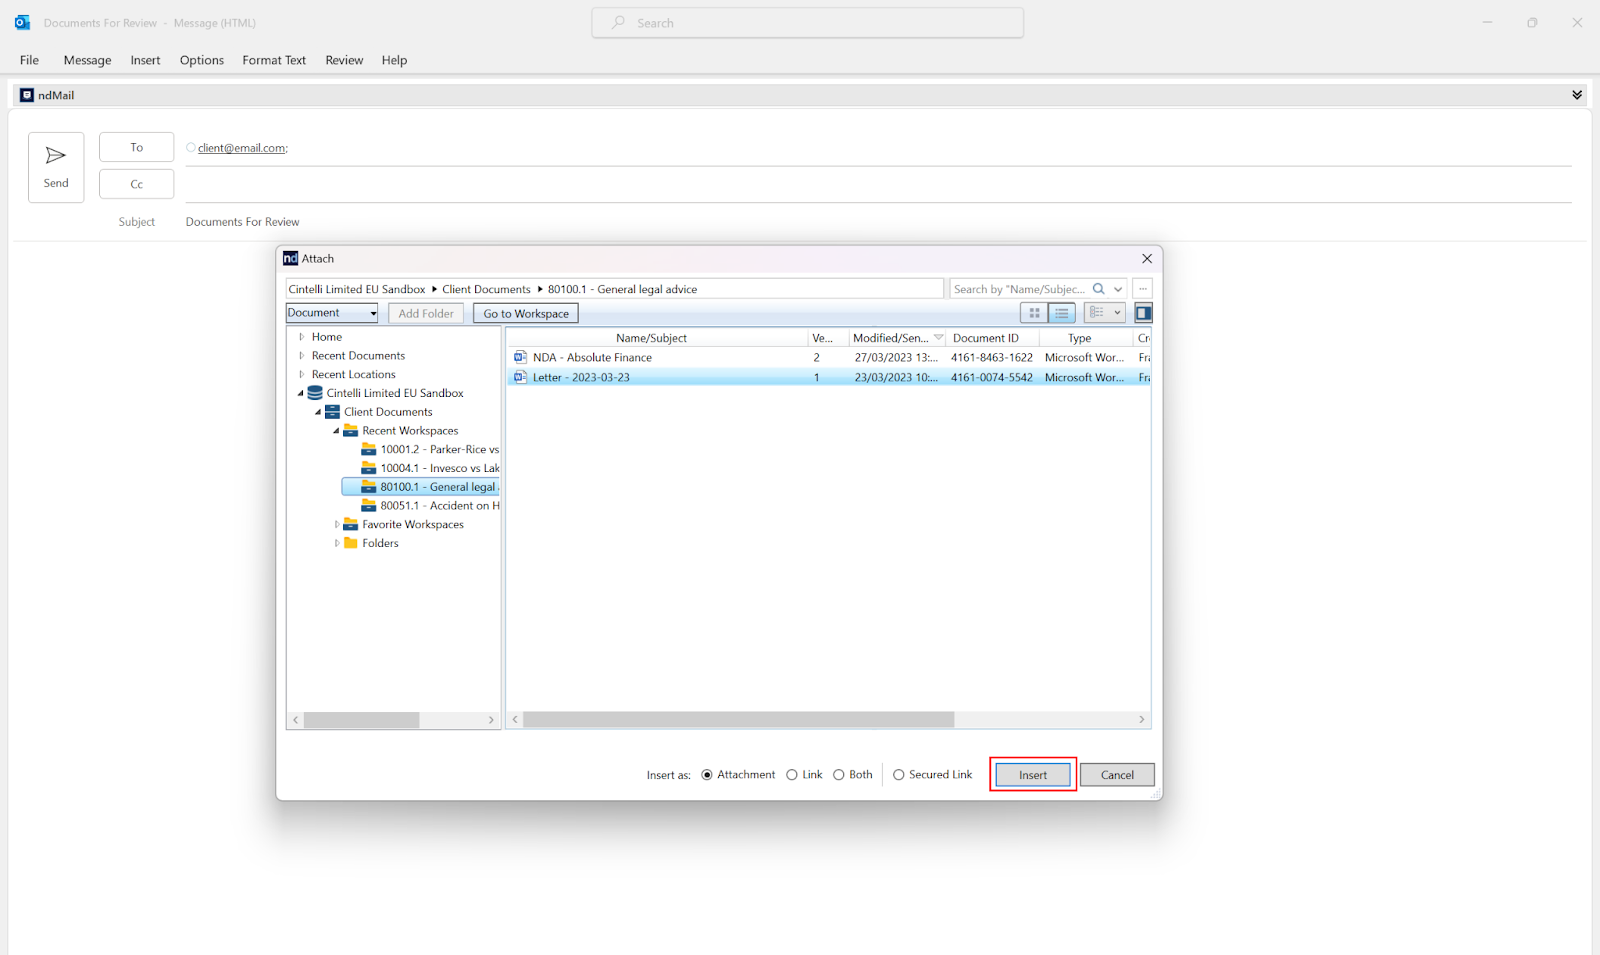
Click the "Insert" button to attach the file to your email.
Useful Resources
The following additional resources may be useful: