Creating New Document Types Within NetDocuments Via Admin Console
Introduction
NetDocuments enables users to categorise documents using various profile attributes, including document types. Adding a new document type helps users organize documents more precisely according to their workflow or project requirements.
This guide provides step-by-step instructions on how to add a new document type in NetDocuments.
Logging In To NetDocuments
Open your preferred web browser
NetDocuments maintains several separate yet identical services located at different data centers - for the United States, United Kingdom, Germany, Canada, and Australia. Each service is accessed by different URLs.
Type in the NetDocuments URL provided by your IT department* or access using the following URL:

Note: If your organisation uses single sign on (SSO) a direct link may be provided to access the system.
The login page appears as shown below:
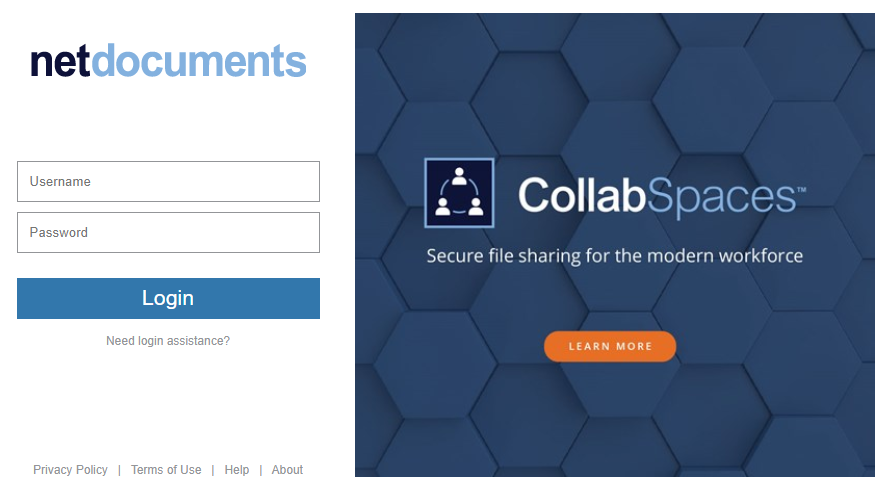
Enter your username and password, then select Login.
Accessing The Admin Console
To access the admin console:
- Select your name in the upper-right corner of the screen.
- In the drop-down menu, hover over Admin.
- Select the name of your repository.
Select Profile Attributes
Within the selected cabinet, find and click on the "Profile Attributes" tab. This tab contains all the customisable attributes for documents within the cabinet.
Note: Your exact configuration may include additional attributes, The steps below will be similar to add / edit these attributes.
Add Document Type
Click on the "Document Type" attribute to open the Document type list:
Click the "Add Document Type" button.
Enter the following values:
Client key: A unique alpha-numeric reference for the new client*
Description: The name of the client (either organization or person name)
*Note: Typically this number will be allocated by the firms practice management, time and billing or finance system. NetDocuments does not automatically generate unique numbers unless using Pattern Builder.
Once you have completed the relevant values click the Add button.
Return to the Profile attributes screen as described in Step 3 above.
Add New Matter
To add a new Matter click the attribute to bring up the Lookup table values:
Then click the Add matter button to open the Add matter pane:
Enter the following values:
- Document type key: The unique alpha-numeric reference for the new document type
- Description: The name of the document type
Once you have completed the relevant values click the Add button.
Useful Resources
The following additional resources may be useful:
How to Add or Edit a Profile Value (Client/Matter)